How it works |
|
When sending in the form, the data of the fields that were pre-set up, will be forwarded to Salesforce through the Salesforce Web-to-Lead options. |
|
|
Instructions |
|
|
In Salesforce:
To be able to use this webhook, a Web-to-Lead form needs to be created within Salesforce. Follow these steps:
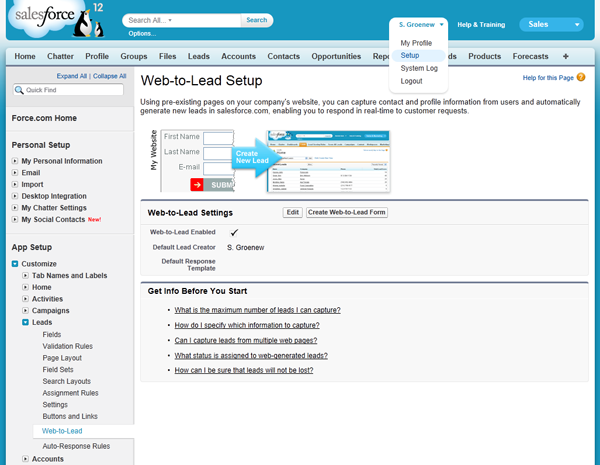
• Login on your Salesforce account.
• In the top-right corner click on the arrow next to your name and next click “Setup”.
• In the menu on the left click on “Customize” > “Leads” > “Web-to-Lead”.
|
|
|
 |
|
|
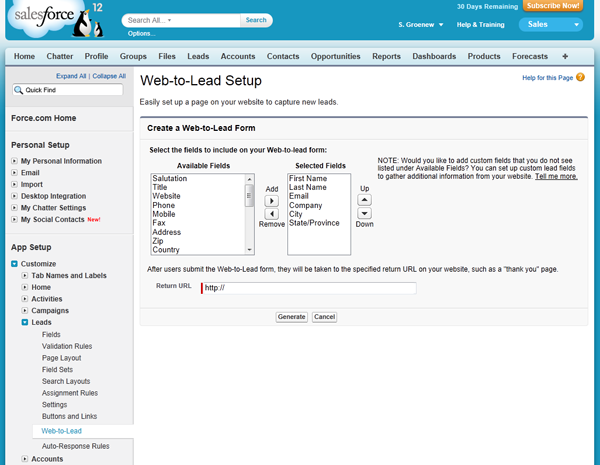
• Click the button “Create a Web-to-Lead form”.
• Now add fields that you want to include on your form.
• leave “Return URL” empty.
• Click the button “Generate”. |
|
|
 |
|
|
|
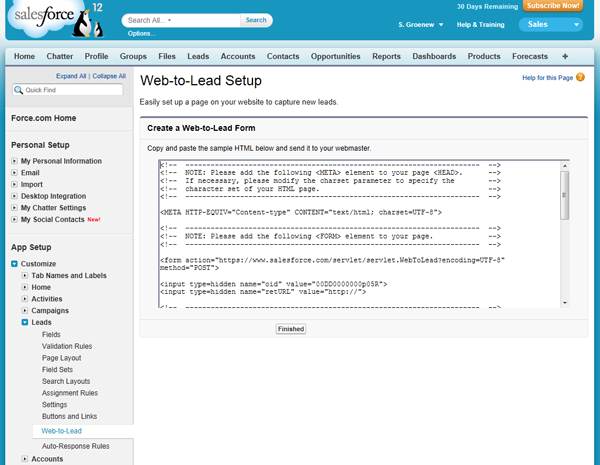
• HTML code will be generated. |
|
|
 |
|
|
|
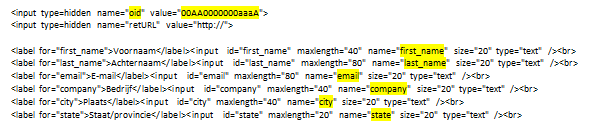
• Write down the values of each form “name” attribute (example: shaded parts in screenshot below): |
|
|
 |
|
|
In Formdesk:
Form
Ensure that the Formdesk form contains the fields which need to be forwarded to Salesforce.
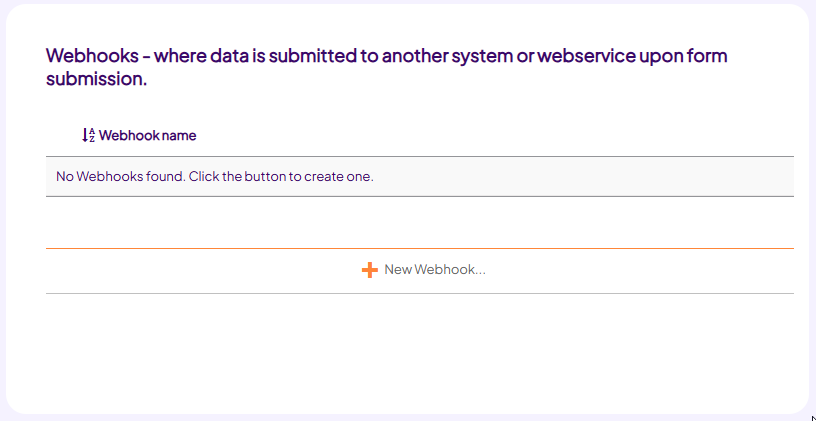
Webhook
On the Settings Tab go to "Webhooks" and choose "New webhook..." |
|
|
 |
|
|
General
Select the webhook “Salesforce”, several fields will now be set automatically.
Data
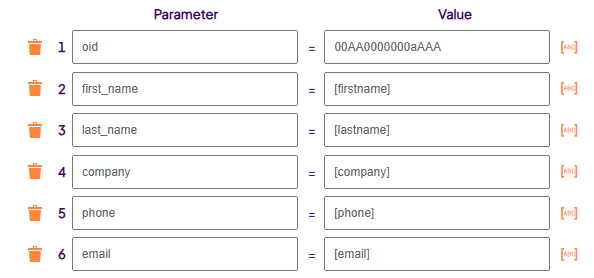
At the section “Data” the following values need to be changed:
• oid: your Salesforce organisation ID, as you will find in the generated code
• Now create the mapping between the Salesforce fields and the Formdesk identifiers, See example below. You can also include additional mapping rules. |
|
|
 |
|
|
|
• Click OK to save the webhook. |
|
|
Test the Webhook |
Go to the Questions Tab, click on "Test form", fill in the form and submit it.
Afterwards check whether the data is added to Salesforce:
• Login on your Salesforce account.
• Go to the "Leads” Tab, choose “Today's Leads" and click the button “Go”.
• Check whether the data of the completed form is received as Lead. |
|
|
|
|
|
|
|