How it works |
|
When sending in the form, form entries will be forwarded to WebMerge in order to merge and generate documents as setup within WebMerge. |
|
|
Instructions |
|
|
In Webmerge:
Login to your WebMerge account or create one if you don't have one yet.
|
|
|
New document:
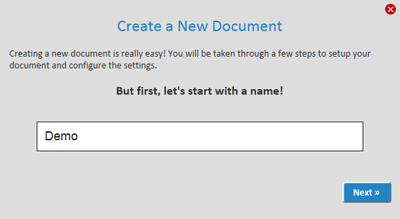
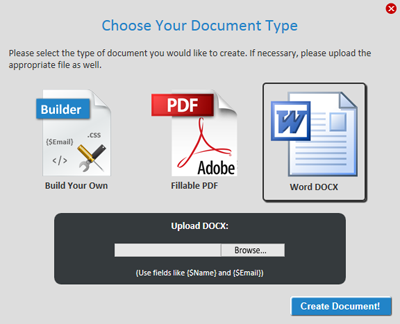
Create a new document within WebMerge. The example below is based on a Word DOCX document. |
|
|
 |
|
|
 |
|
|
|
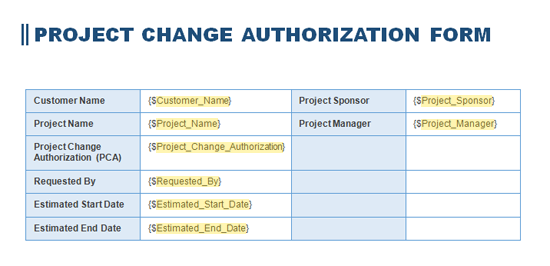
Write down the field names that you used in the document (see below). |
|
|
 |
|
|
|
Follow the steps in the wizard to the "Merge" tab and write down the "Merge URL": |
|
|
 |
|
|
In Formdesk:
Form
Ensure that the Formdesk form contains the fields which need to be merged in WebMerge.
Webhook
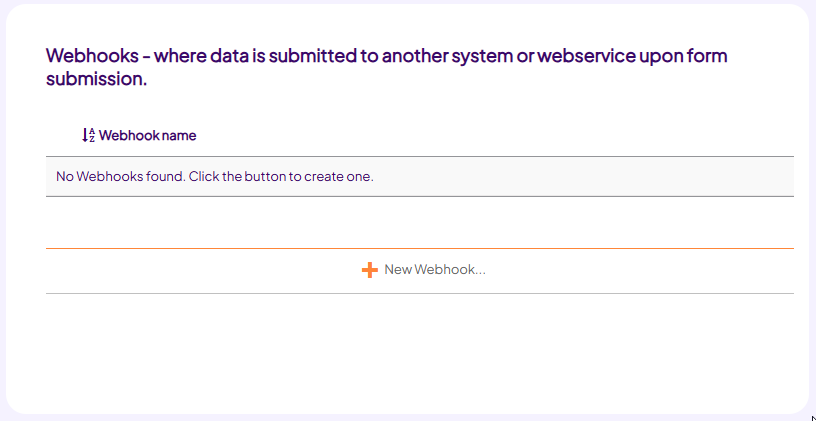
On the Settings Tab go to "Webhooks" and choose "New webhook..." |
|
|
 |
|
|
Settings
Select the webhook “WebMerge”. Several fields will now be set automatically.
At the section "URL" replace the word "SERVER" by the "Merge URL" generated in WebMerge that you wrote down.
Data
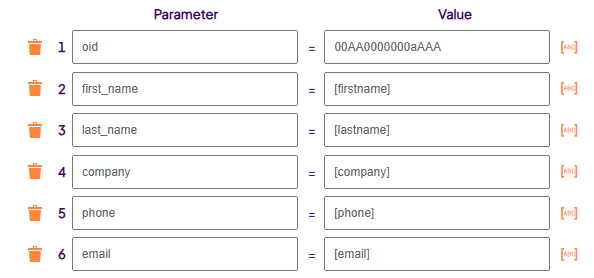
Create the mapping between the Formdesk fields and the fields of the WebMerge document.
If the identifiers on your Formdesk form are identical to the fields of the WebMerge document, you can also choose "Add all form data". |
|
|
 |
|
|
|
Click OK to save the webhook. |
|
|
Testing |
Go to the Questions Tab, click on "Test form", fill in and submit the form.
Afterwards check whether the data is processed in the document created by WebMerge. Depending on your settings, the document will be mailed or placed in Dropbox, Box, Google Drive etc. |
|
|
Suggestions |
Sending criteria
Use the "Sending criteria" to execute the Webhook based upon answers on the form. In case you want to generate different documents for different situations. |
|
|
|
|
|
|
|